 Rindraw
Free paper textures and brush tips
27 paper grains and 42 brush tips, the same ones Rindraw's own brushes paint with, free for anything you make. They're grayscale PNGs, white where paint goes, so they work as shapes and grains in Procreate, Photoshop and most painting apps.
CC0: free for commercial work, no credit needed. Papers tile seamlessly. Released November 2, 2026.
27 paper grains
Each paper repeats without a seam. Most are 512 pixels a side; the fine ones pencils and charcoal draw on (sketch, laid and grit) are 1024. Use them as a brush's grain, or as an overlay layer.
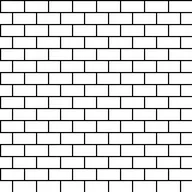
Bricks 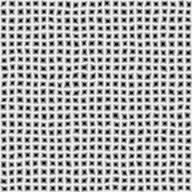
Burlap 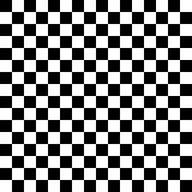
Checker 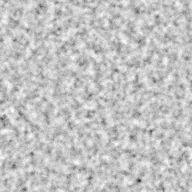
Cold press 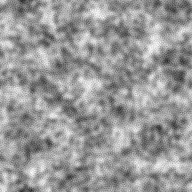
Concrete 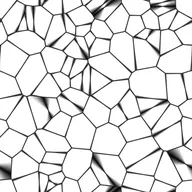
Crackle 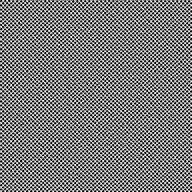
Crosshatch 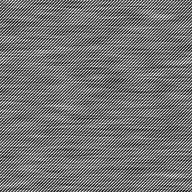
Denim 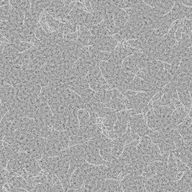
Fibers 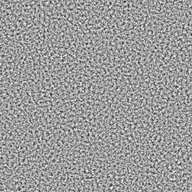
Granulation 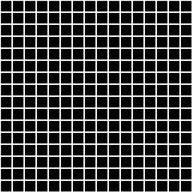
Grid 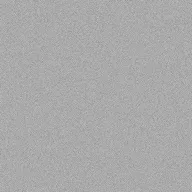
Grit 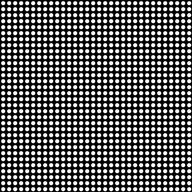
Halftone 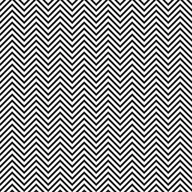
Herringbone 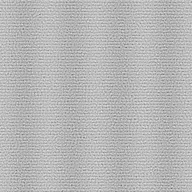
Laid 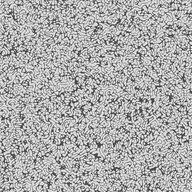
Leather 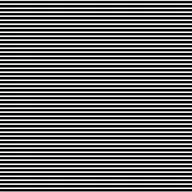
Line tone 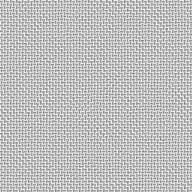
Linen 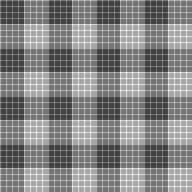
Plaid 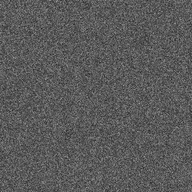
Riso 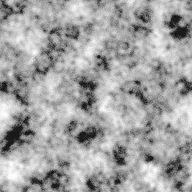
Rust 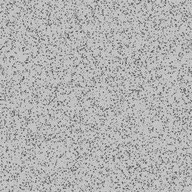
Sand 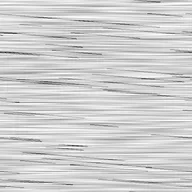
Scratches 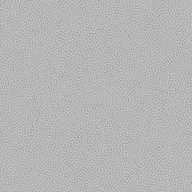
Sketch 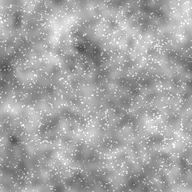
Stone 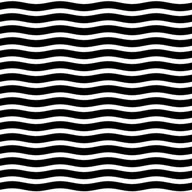
Waves 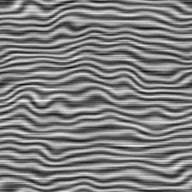
Wood
42 brush tips
Each tip is 512 pixels a side, centered, fading to black at the edge: pencils, charcoal, bristles, sponges, spatter, and shapes such as stars, leaves and snowflakes for stamp brushes.
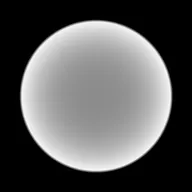
Bokeh 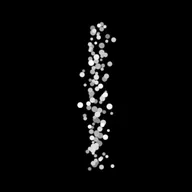
Bristle flat 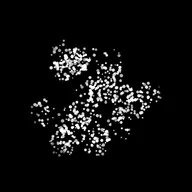
Bristle round 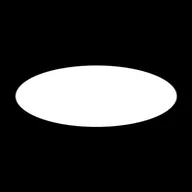
Brush pen 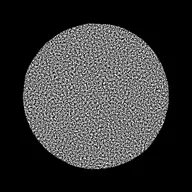
Chalk 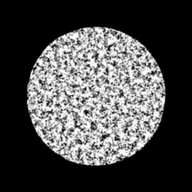
Charcoal 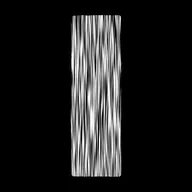
Charcoal block 
Cloud 
Dash 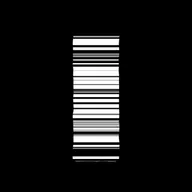
Dry brush 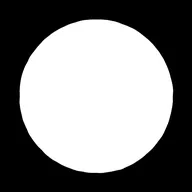
Dry ink 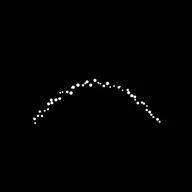
Fan 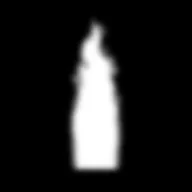
Flame 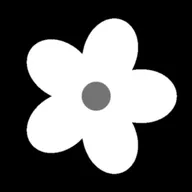
Flower 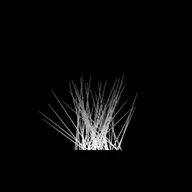
Fur 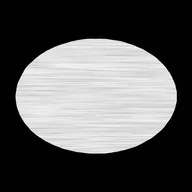
Gouache 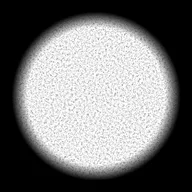
Graphite 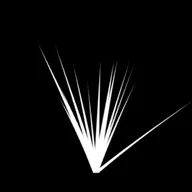
Grass 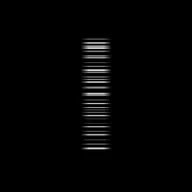
Hair 
Heart 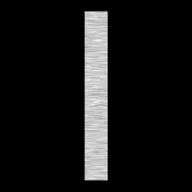
Knife 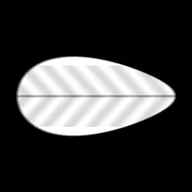
Leaf 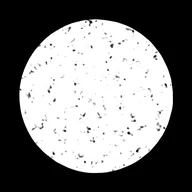
Letterpress 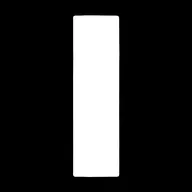
Marker chisel 
Note 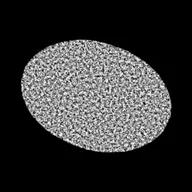
Pastel 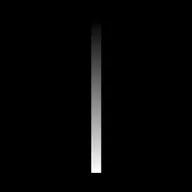
Raindrop 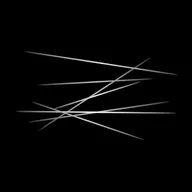
Scratch 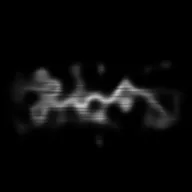
Smoke 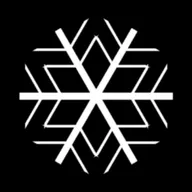
Snowflake 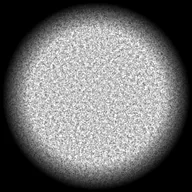
Soft pencil 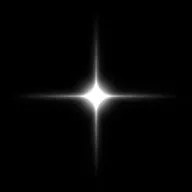
Sparkle 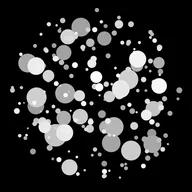
Spatter coarse 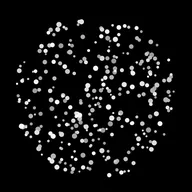
Spatter fine 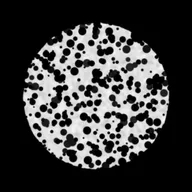
Sponge 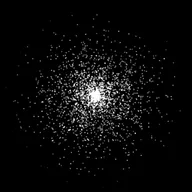
Spray 
Square 
Star 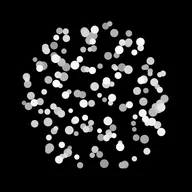
Stipple 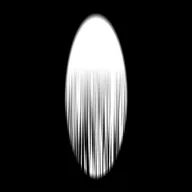
Sumi 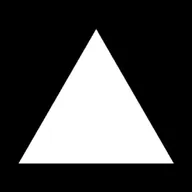
Triangle 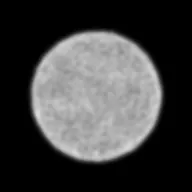
Watercolor
Using them in Procreate
Duplicate a brush you like first, so the original stays as it was, then open the copy in Brush Studio.
- A tip: go to Shape, tap Edit at the top right of the preview, then Import, and choose a file from the
tipsfolder. - A paper: go to Grain, tap Edit, then Import, and choose a file from the
papersfolder. - Tap Done, and draw on the Drawing Pad to try it.
If the grain comes out the wrong way round, two-finger tap the texture in the Grain Editor to invert it. Grain Scale in the Grain settings sets how big the paper lies on the canvas.
Using them in Photoshop
Photoshop paints where a brush tip is dark, so invert a tip first: open it, choose Image › Adjustments › Invert, then Edit › Define Brush Preset. For a paper, open it and choose Edit › Define Pattern, then pick that pattern under Texture in the Brush Settings panel.
License
We made these from seeded noise for Rindraw, and we've waived all rights to them under CC0 1.0. Use them in your art, your brushes and your products, paid or free, and pass them on. A link back to this page is appreciated but never required.
In Rindraw
Rindraw's built-in brushes already use every one of these, so there's nothing to install. Rindraw also opens Procreate brushes, so a brush you make with them in Procreate comes across with its shape and grain.
Questions
Can I use these textures commercially?
Yes. They're CC0, so you can use them in any work, commercial or not, and sell or share brushes made with them. No credit is needed.
How do I add a texture to a Procreate brush?
In Brush Studio, go to Shape or Grain, tap Edit, then Import, and choose the PNG.
Do the paper textures tile seamlessly?
Yes. Each paper's edges meet, so it repeats across the canvas without a visible seam.
Sources
- Procreate Handbook (5.4), Brush Studio settings: Shape and Grain sources are changed with Edit, then Import from a photo or file; two-finger tap in the Grain Editor inverts the texture.
Related guides
$12.99 once, for iPad, iPhone and Mac. No subscription.
Procreate is a trademark of Savage Interactive Pty Ltd, and Photoshop of Adobe. Rindraw is made by Sawir Studio and isn't affiliated with either.


